
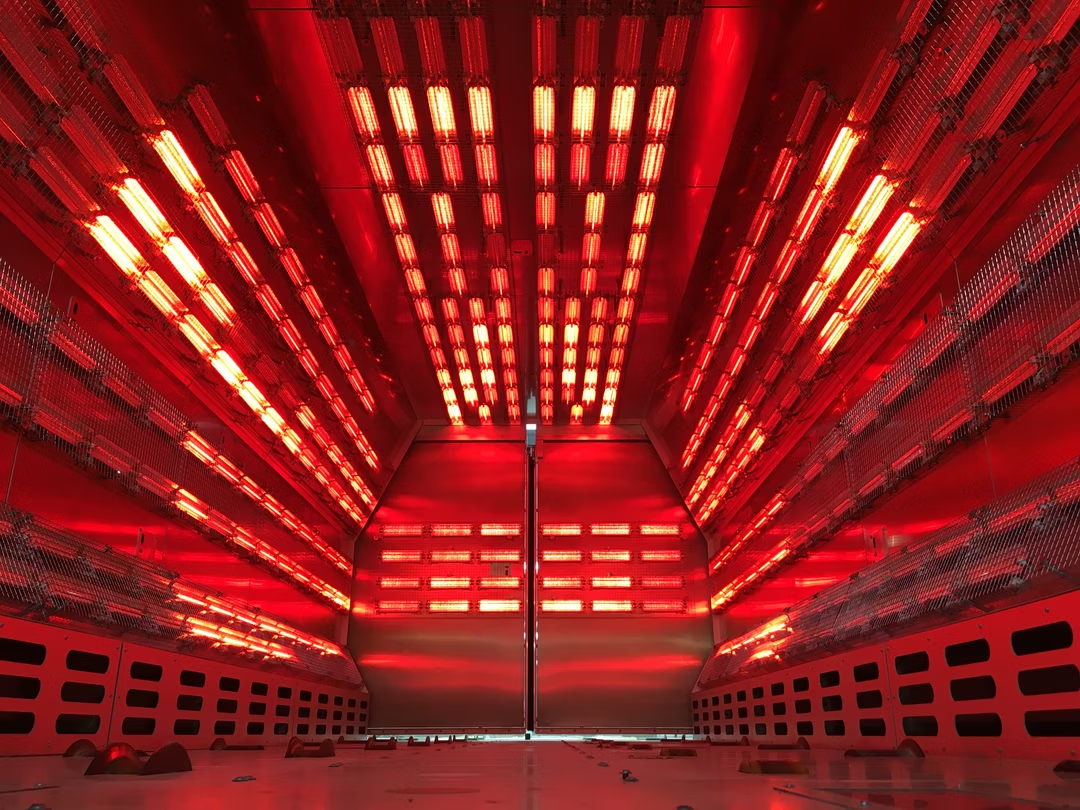
Making the Jump from OEM to Domestic IR Lamps
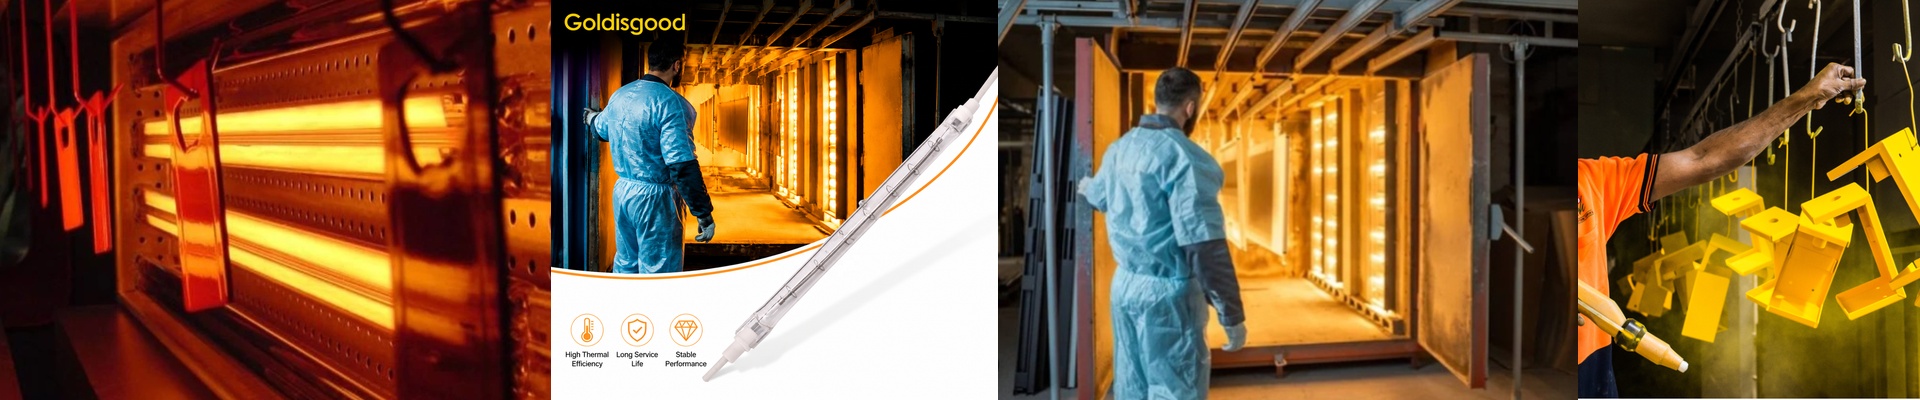
Let’s be honest: switching your curing lamps from the big-name OEM brands to a domestic alternative feels like a gamble. When you’re running a high-volume appliance line, you’re playing a game of inches. One lamp pops or the heat drops a few degrees, and suddenly your entire curing tunnel is a bottleneck. It’s a headache nobody wants. The technical side of things Most people think you just match the wattage and call it a day. But it’s not that simple. If your OEM lamp is 2000W over 500mm, we don’t just look at that number. We dig into the filament temperature and the grade of the quartz. We use high-purity fused quartz because it doesn’t burn out nearly as fast. Plus, we make sure the voltage and current draw are a dead match. Why? Because the last thing you want to do is rewire your control cabinets or mess with your transformers just to change a bulb. Getting the heat right We go with halogen-filled shortwave tubes. They hit peak temperature in seconds. It’s a simple “plug and play” situation. You pull the old one out, slide ours in, and everything fits exactly where it should. But here is a pro tip: keep an eye on your lamp holders. When you push higher power density—say, 4kW per tube—it puts a lot of stress on the sockets. Check them for carbonization. If you’re using cheap connectors, they’ll melt under that kind of heat. It’s a small detail, but it’s the kind of thing that shuts a line down. Proving it actually works I know how it goes on the shop floor. Engineers don’t care about glossy brochures; they care about what the sensors say. So, we don’t just tell you it works. We bring out the thermal imaging cameras and do a side-by-side test. We track the surface temperature of the appliance as it exits the tunnel. If our lamp holds the same cure profile as the OEM version through a 72-hour stress test, then we know we’ve got it right. No guesswork. Just heat.